|
FQL v4 will be decommissioned on June 30, 2025. Ensure that you complete your migration from FQL v4 to FQL v10 by that date. For more details, review the migration guide. Contact support@fauna.com with any questions. |
Fauna extension for Visual Studio Code
|
This documentation applies to FQL v4. The v4 extension is not compatible with the Visual Studio Code extension for FQL v10. |
The Fauna extension for VS Code allows you to browse you Fauna databases, indexes, collections, documents, and user-defined functions within VS Code. You can also edit Fauna documents, and run FQL queries within VS Code.
Visual Studio Code, or VS Code, is Microsoft’s free code editor, which is optimized for building and debugging modern web and cloud applications. VS Code is available for Windows, Linux, and macOS. It includes built-in debugging support, Git integration, syntax highlighting, intelligent code completion, snippets, code refactoring, and customization via extensions.
Requirements
-
A Fauna account. If you have not already done so, https://dashboard.fauna.com/register[sign up for a Fauna account^].
-
Visual Studio Code, version 1.4.0 (or higher).
-
A GraphQL extension installed in VS Code, to provide file type information for the Fauna extension for VS Code.
Installation
This section describes how to install the Fauna extension for VS Code.
-
Run VS Code.
-
Select .
-
Type
graphqlinto the "Search Extensions in Marketplace" field. -
Click the Install button beside the first entry presented.
-
Type
faunainto the "Search Extensions in Marketplace" field. -
Click the Install button for the "Fauna" entry in the results.
If prompted to do so, restart VS Code.
Configuration
This section describes how to configure the Fauna extension for VS Code.
Acquire a Fauna key
Accessing a Fauna database involves an authentication token called an "admin key". See Keys for more information. Perform the following steps to acquire an admin key:
-
Log in to Fauna Dashboard.
-
Click on an existing database, the one that the Fauna extension for VS Code should access. Or create a new database.
-
Click the Security link in the left sidebar.
-
Click the New Key button.
-
Select the database that the key should access.
-
Ensure that the Role field is set to
Admin(the Fauna extension for VS Code does not currently supportServerkeys). -
Optional: Set the Key Name field to
VS Code. -
Click Save.
-
The key’s "secret" is displayed. Make sure that you copy the key at this point, and store it in a safe place: the key is only displayed once. If you lose it, the key would have to be revoked, and a new key would have to be created.
Add the key to VS Code
Now that you have an admin key to access a Fauna database, the
Fauna extension for VS Code needs to be configured. There are two approaches to
configuring the key, within the VS Code configuration as a global key:
for all projects, or in a project-specific .faunarc file. Choose
one of the following approaches:
-
Use the VS Code configuration:
-
In VS Code, Select .
-
In the Settings tab, click Extensions, and then Fauna.
-
Paste the secret, that you acquired in the previous section, into the Secret Key field.
-
Restart VS Code.
The key is a credential that provides full access to your database. Do not commit it to your .vscodeconfiguration. -
-
Use the
.faunarcfile:-
Create the file
.faunarcin your project’s root folder, containing the following content:FAUNA_KEY=<YOUR KEY SECRET>Replace
<YOUR KEY SECRET>with the secret that you acquired in the previous section. -
Add
.faunarcto your project’s.gitignorefile.
-
You should now see the Fauna logo in the left sidebar.
Features
With the extension installed, click on the Fauna logo in the left sidebar. Then you can use the following features:
Browse the database

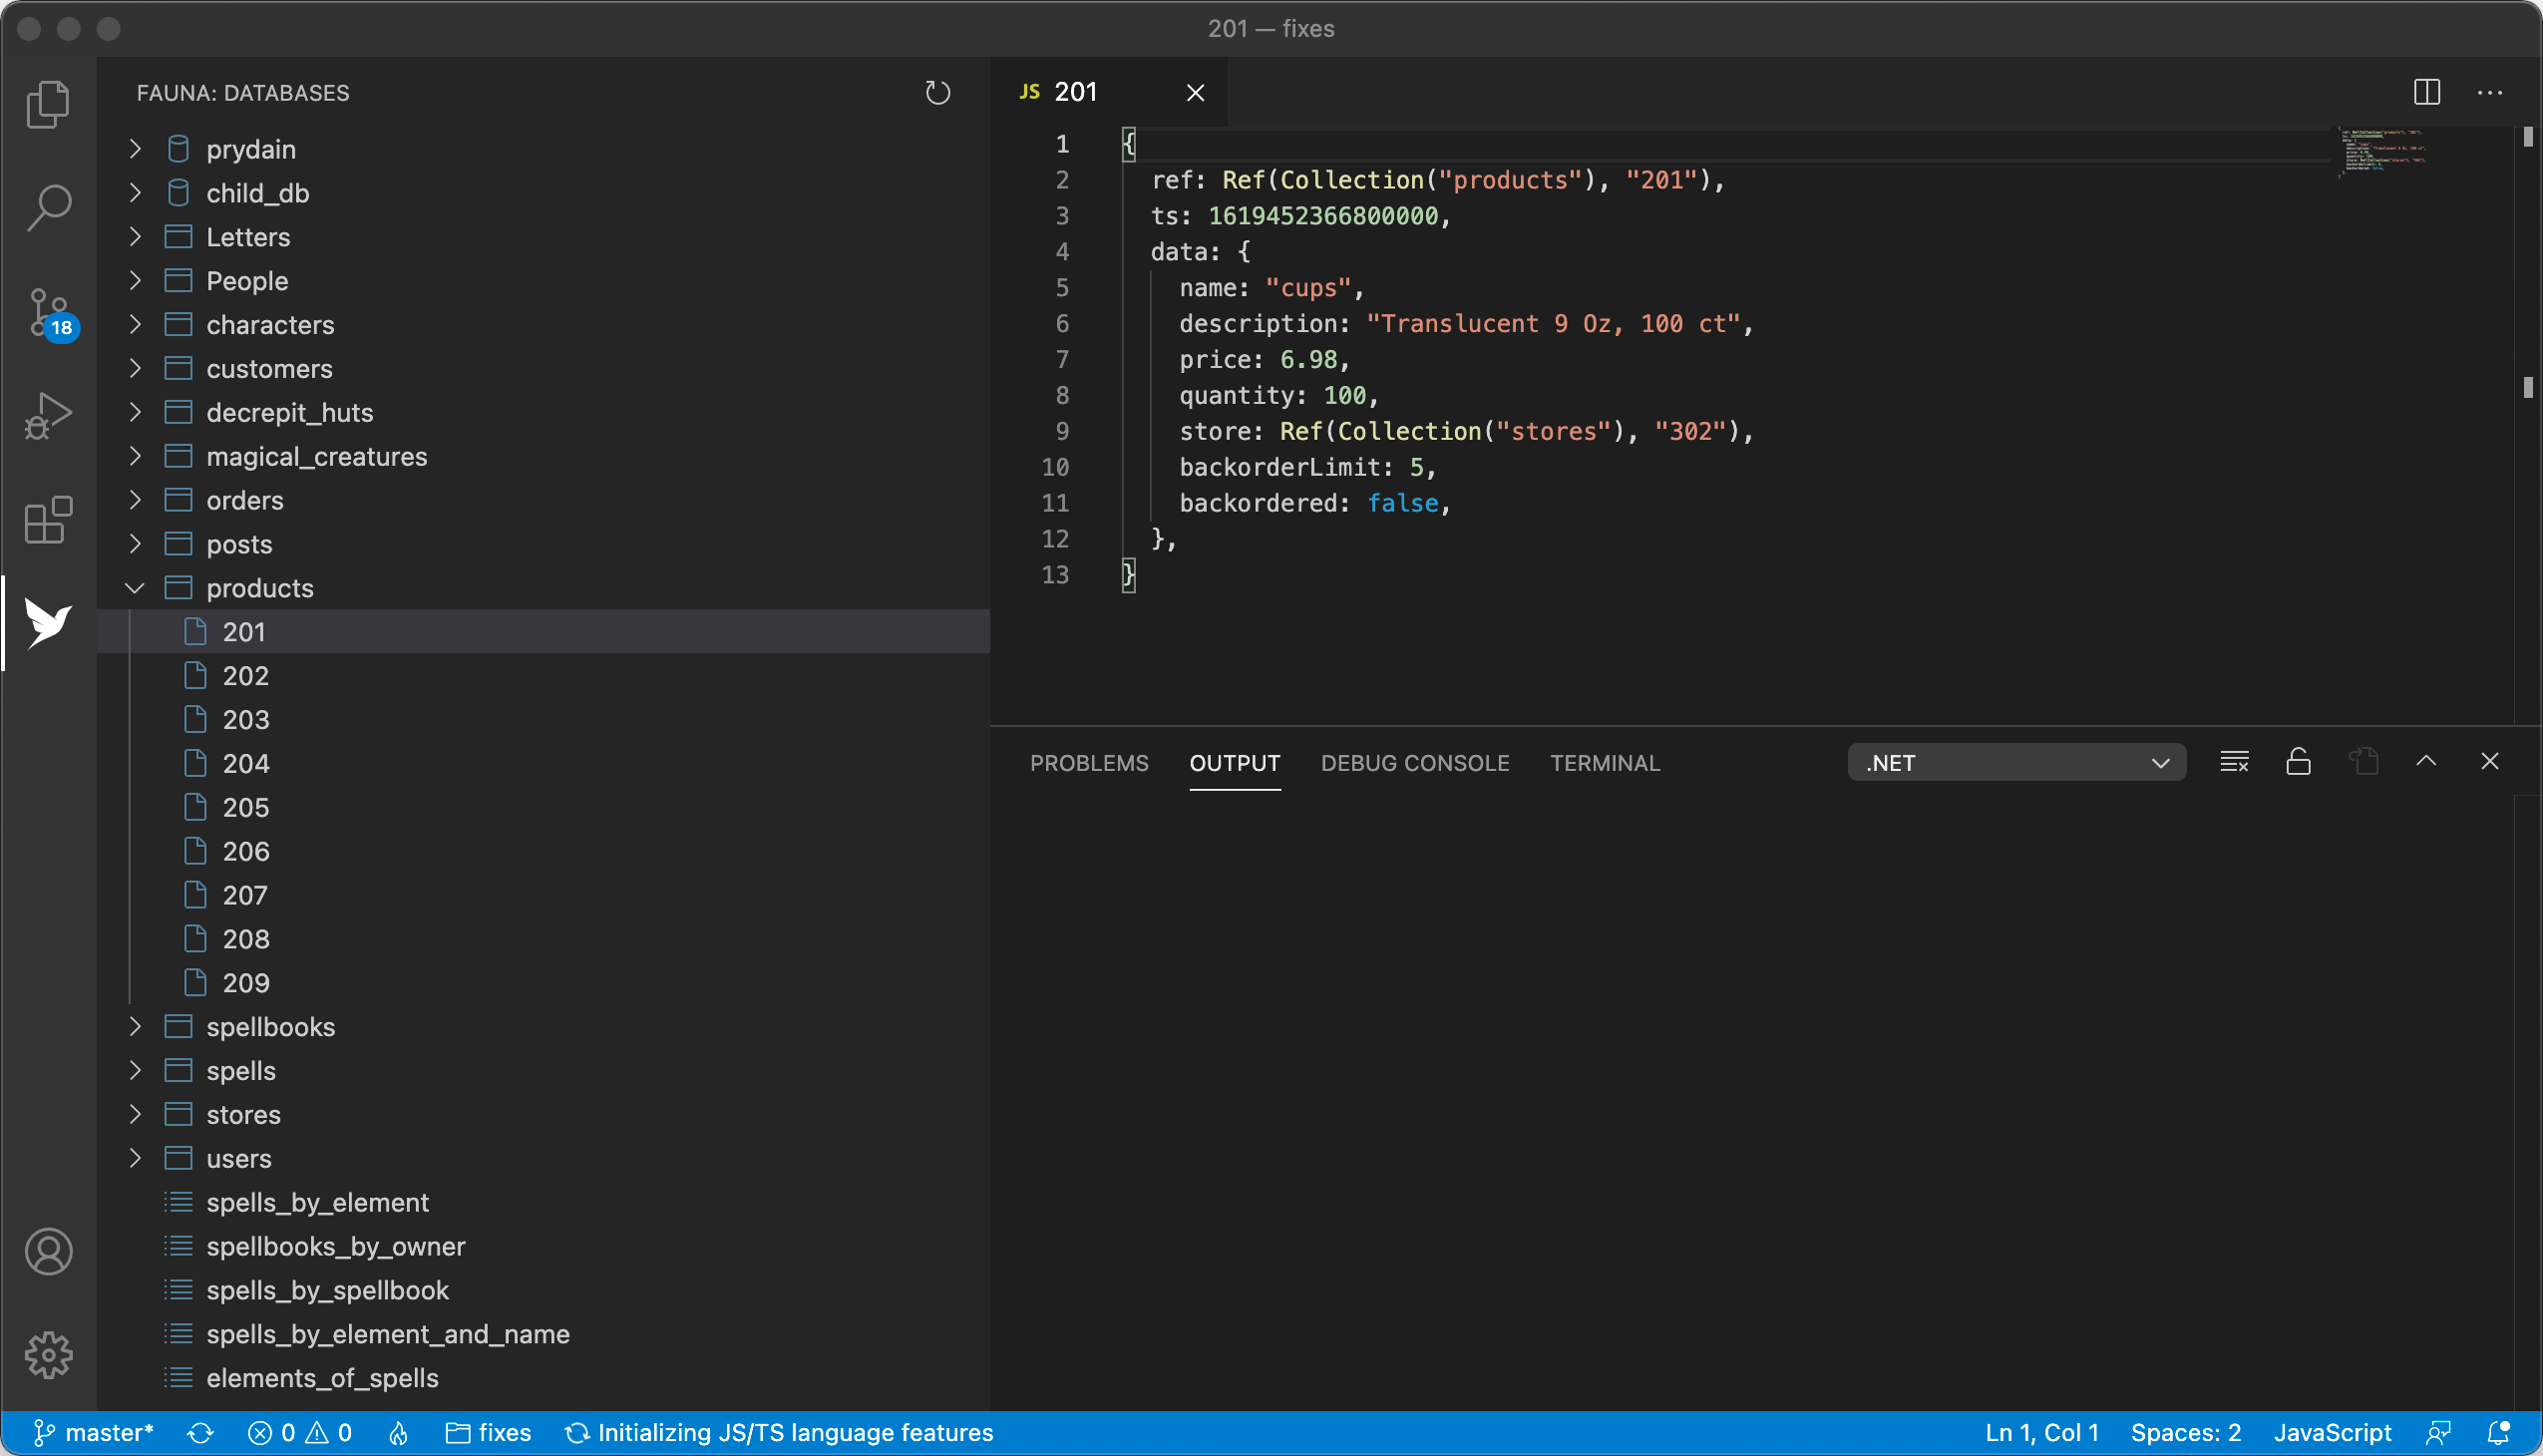
The Fauna extension for VS Code displays a sidebar on the left that lists the child databases, collections, documents, indexes, and functions that exist in the database associated with the configured key.
When you click on a document, index, or function, the Fauna extension for VS Code opens a new tab to show that resource’s definition.
| Browsing is read-only at this time. See Run a query for a work-around. |
Create a query document
The Fauna extension for VS Code can be used to create a "query" document, that contains the FQL functions comprising a query. Choose one of the following approaches:
-
Use the command palette:
-
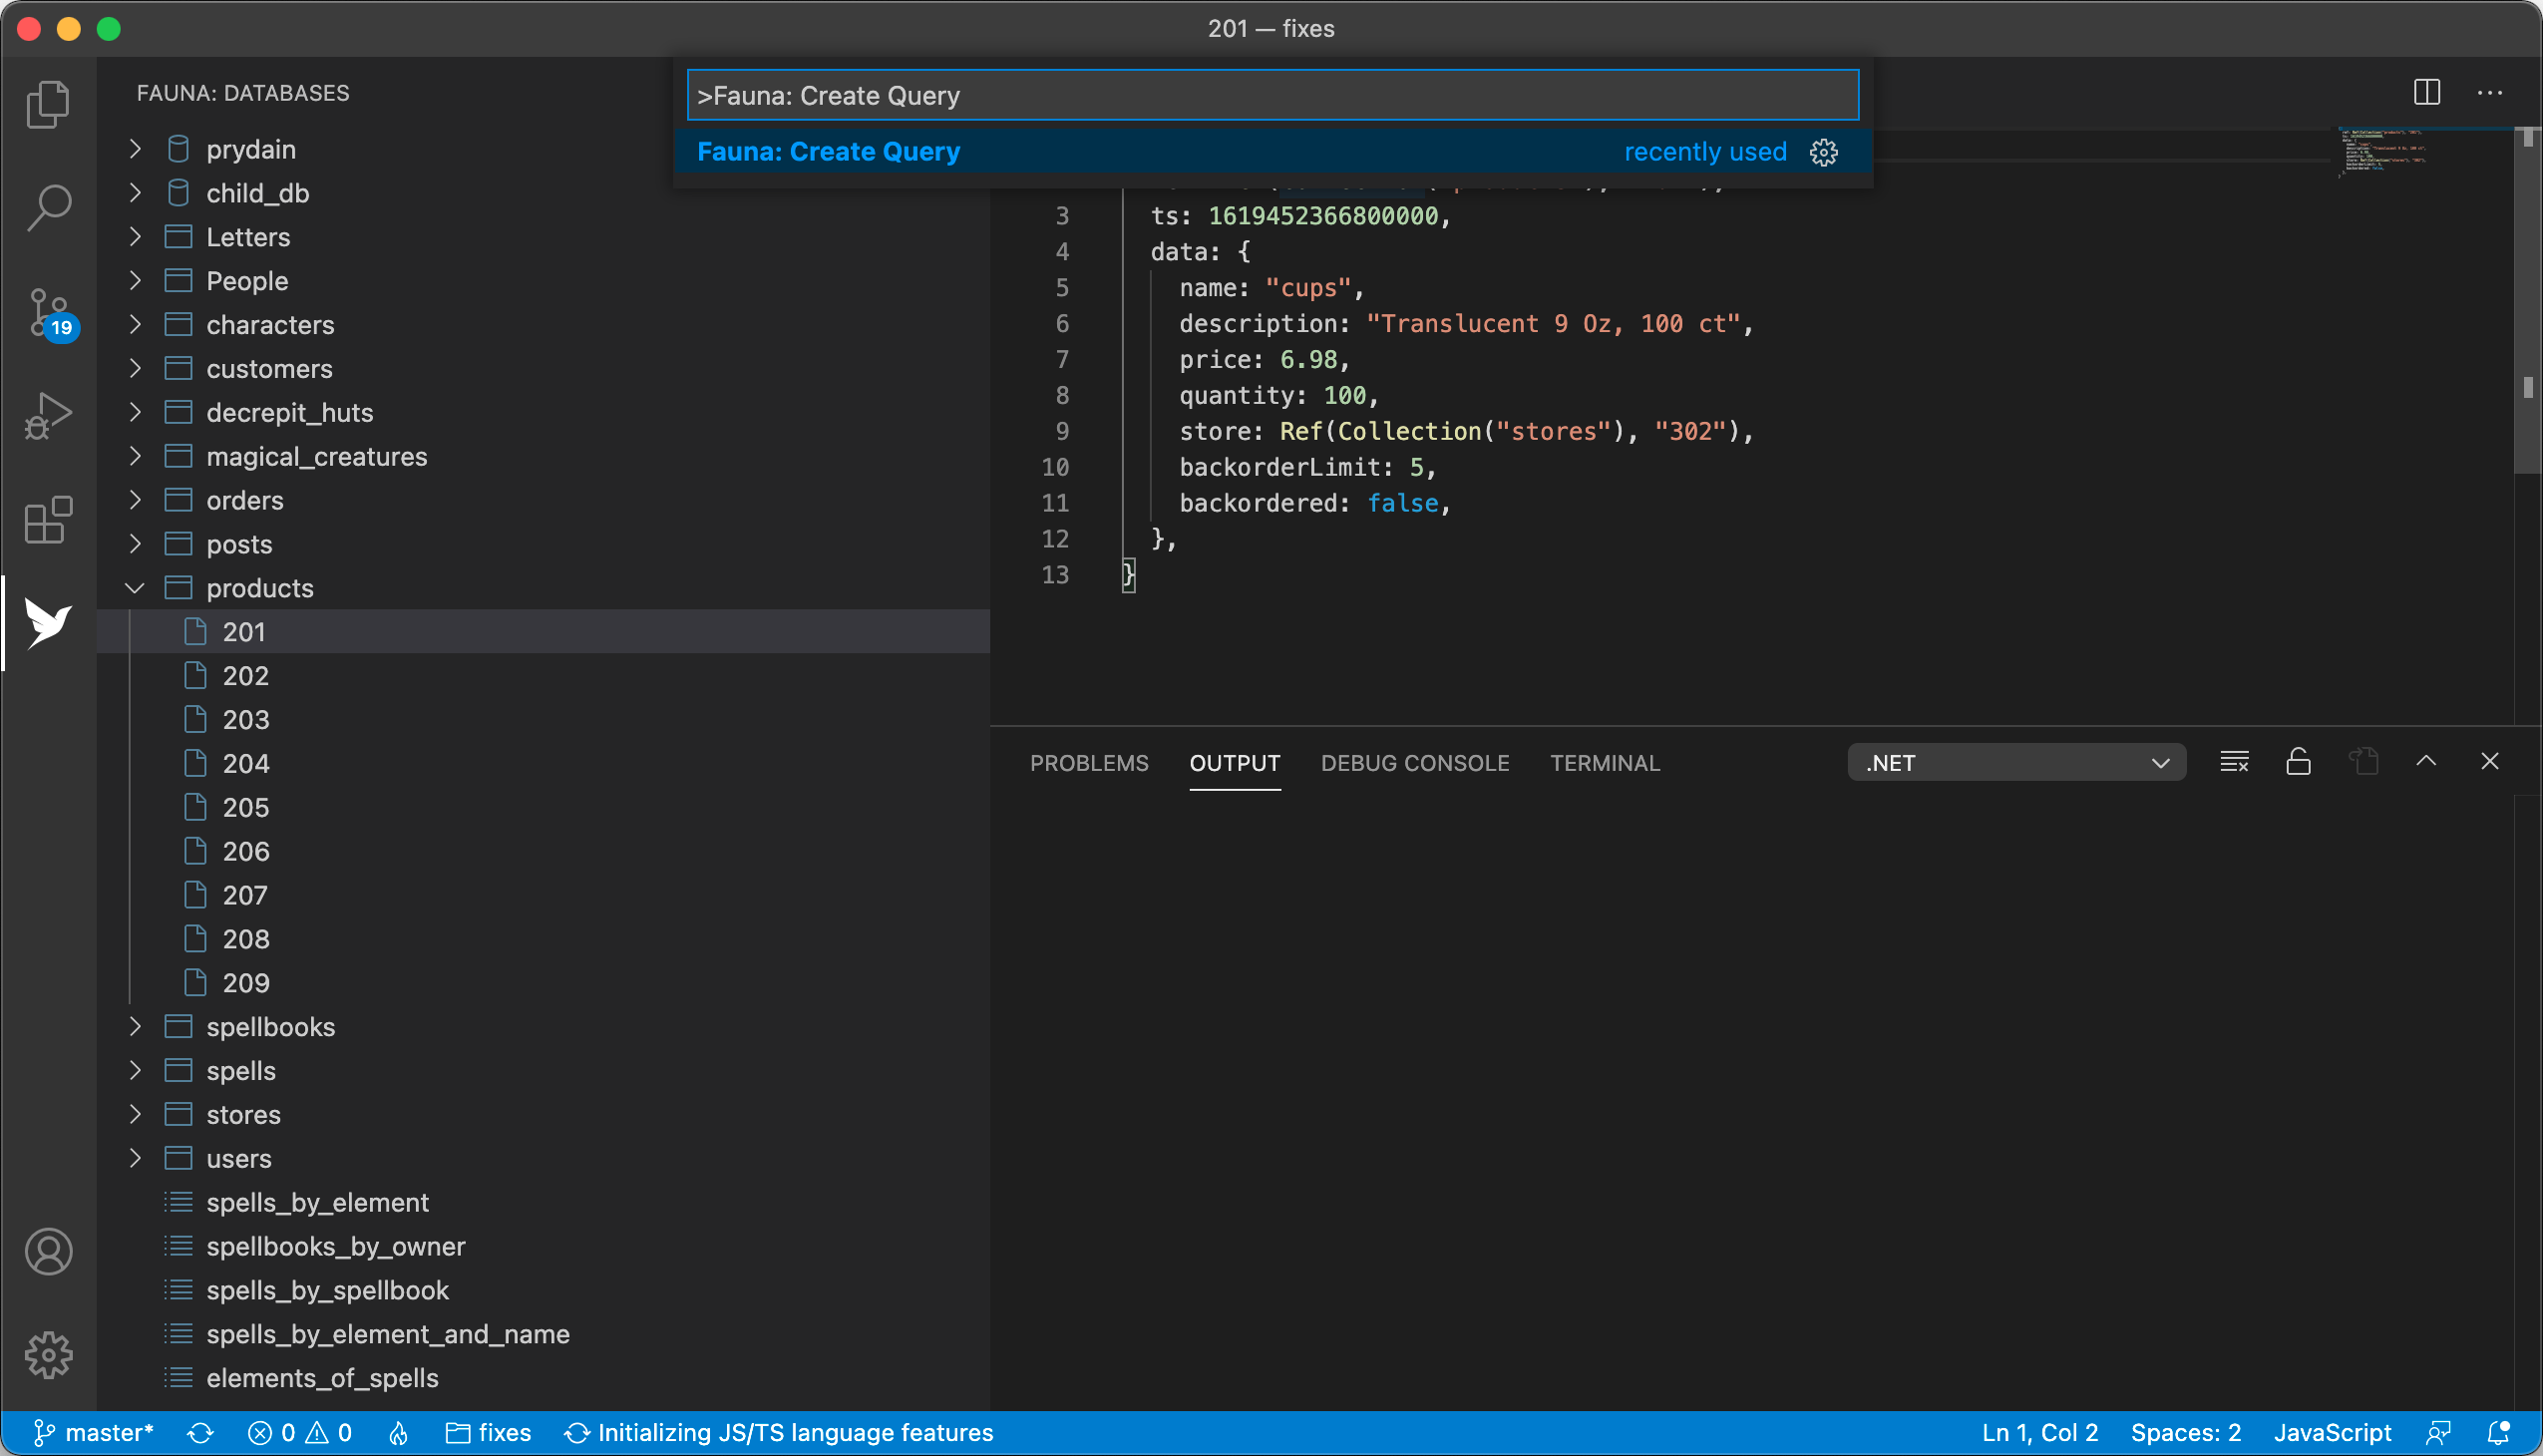
Open the command palette with a keyboard shortcut: Command+Shift+P (macOS), or Control+Shift+P (Windows/Linux).
-
Type
Fauna: Create Queryand press Return.A new editing tab opens, containing the example query
Paginate(Collections()).
-
-
Create a "query" file with the
.fqlextension:-
Create a new file by typing Command+N (macOS) or Control+N (Windows/Linux).
-
Save the file with a
.fqlextension.
-
Run a query
The Fauna extension for VS Code can be used to run an FQL query, based on the contents of a "query document":
-
Open the command palette with a keyboard shortcut: Command+Shift+P (macOS), or Control+Shift+P (Windows/Linux).
-
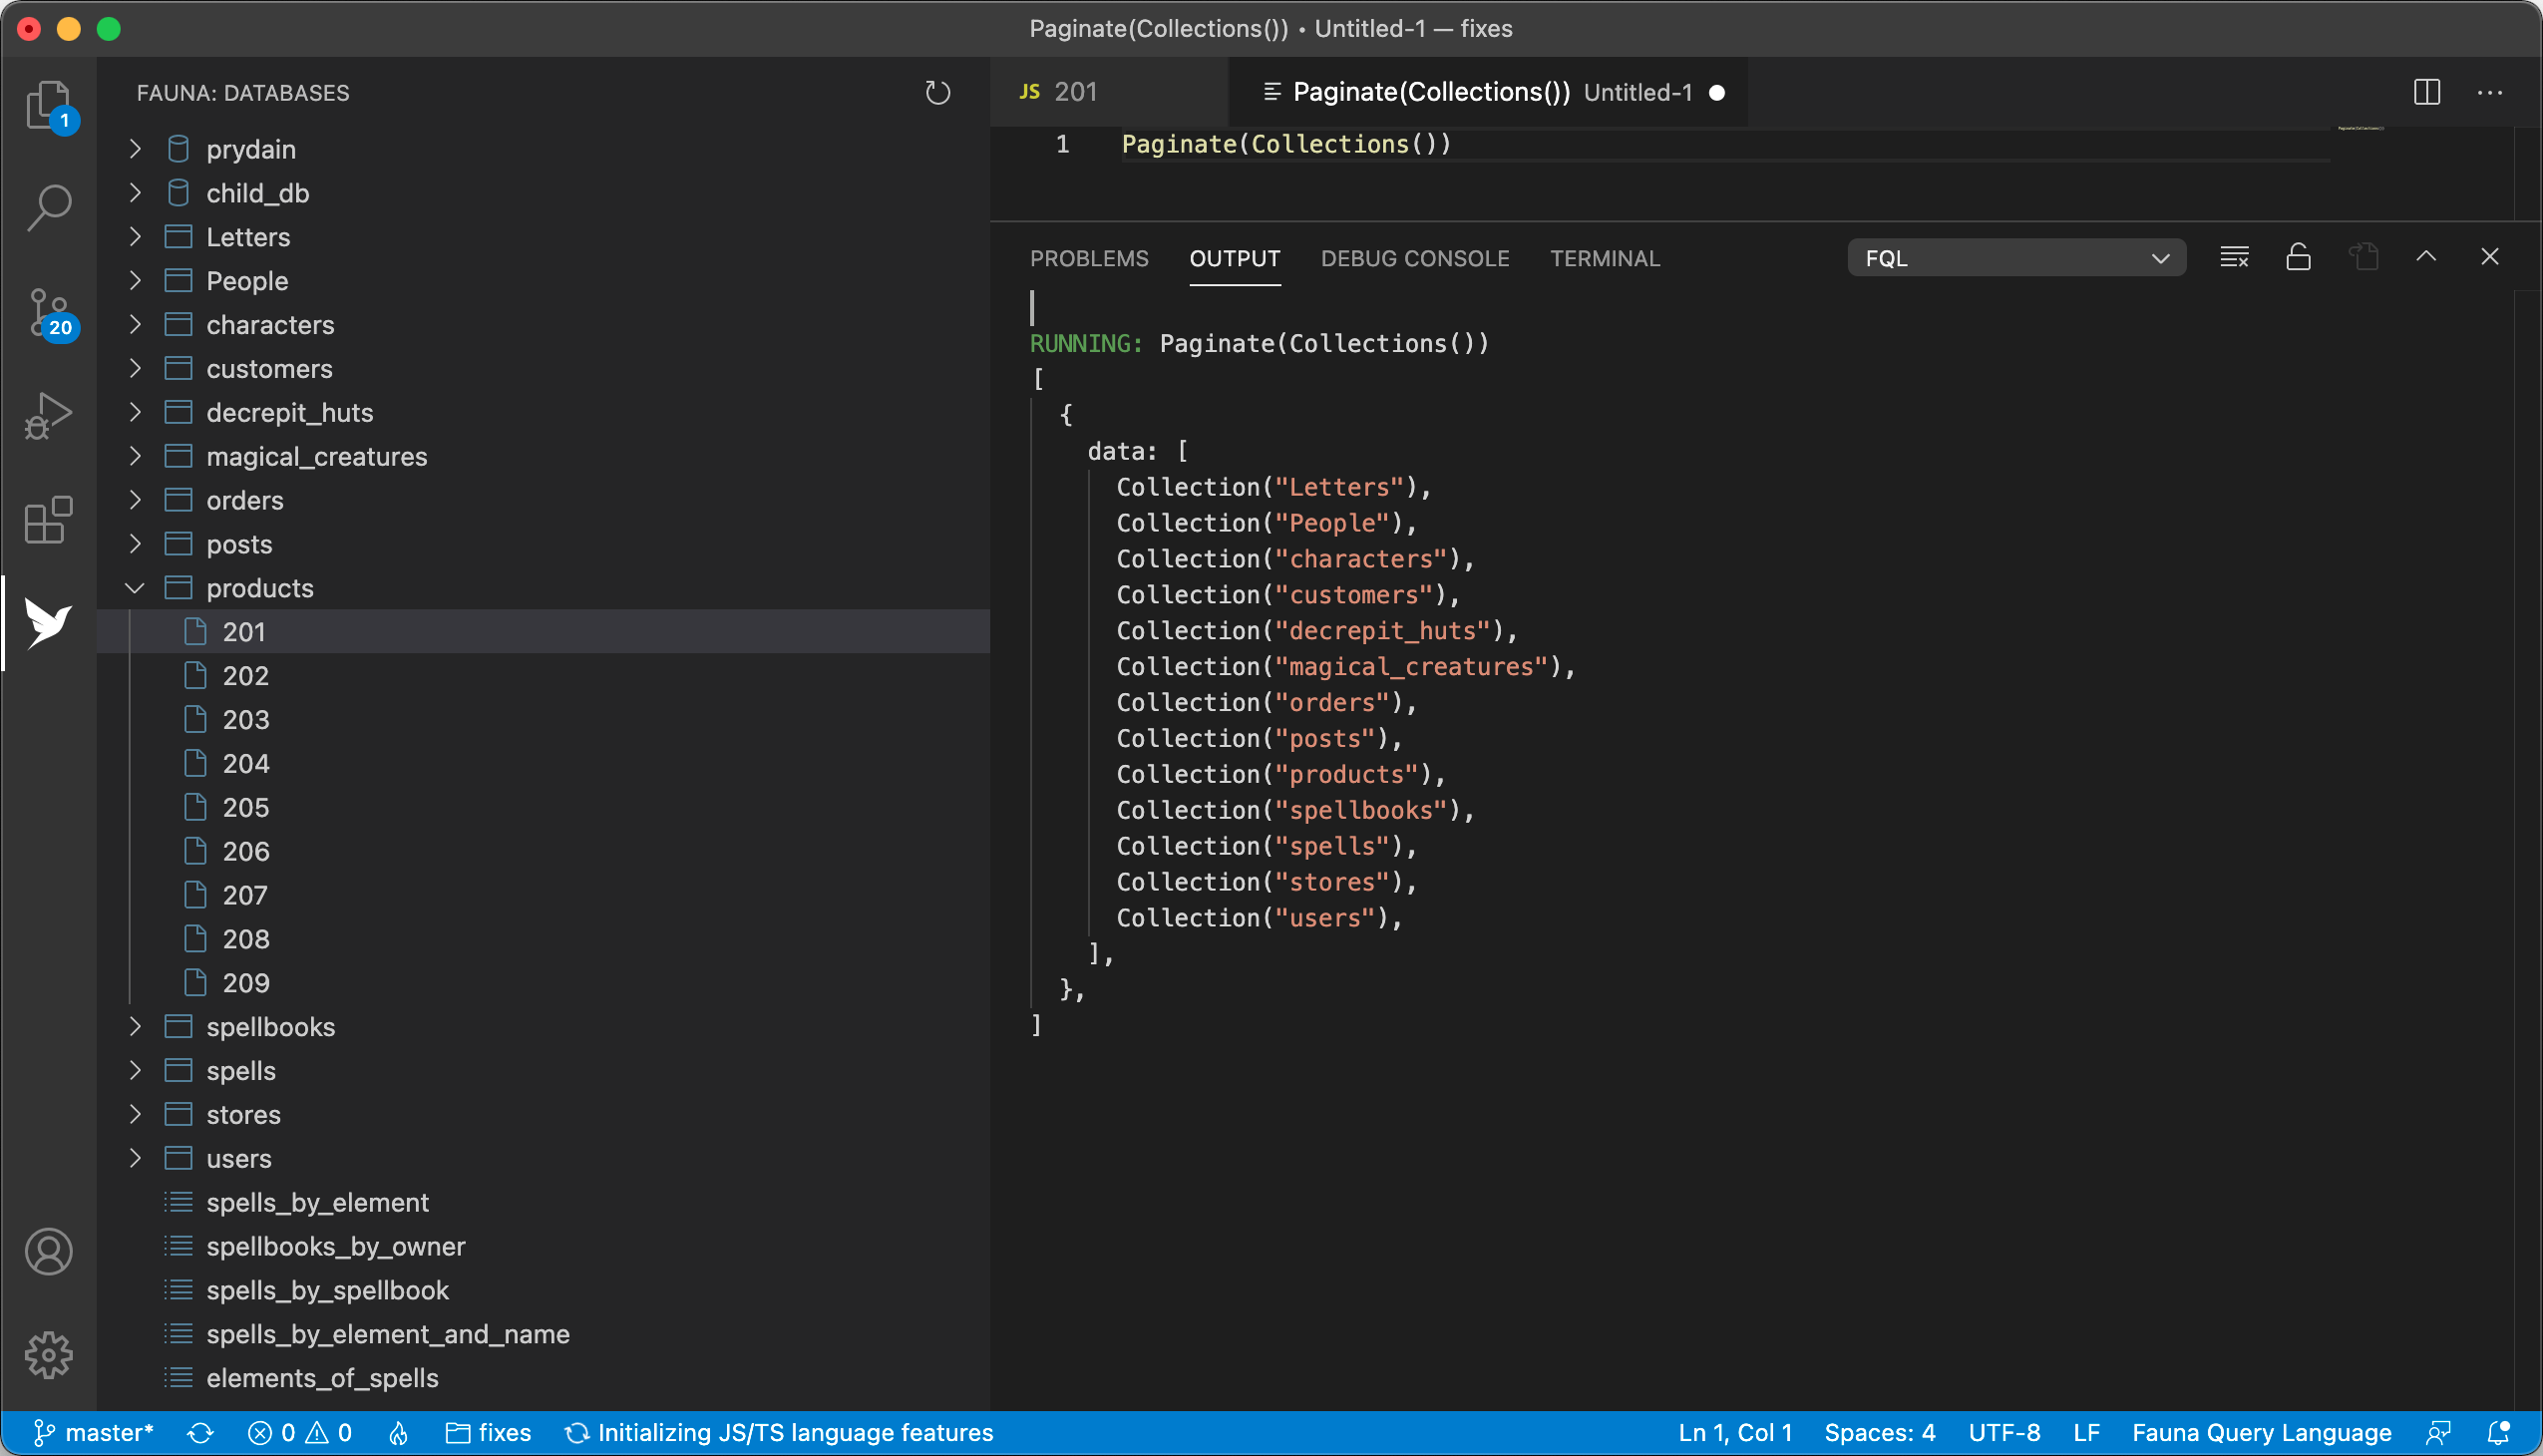
Type
Fauna: Run Queryand press Return.The query is executed, and an output pane appears to display the result of the query.

You can use the query file to create, update, or delete any resources within the associated database.
Run as
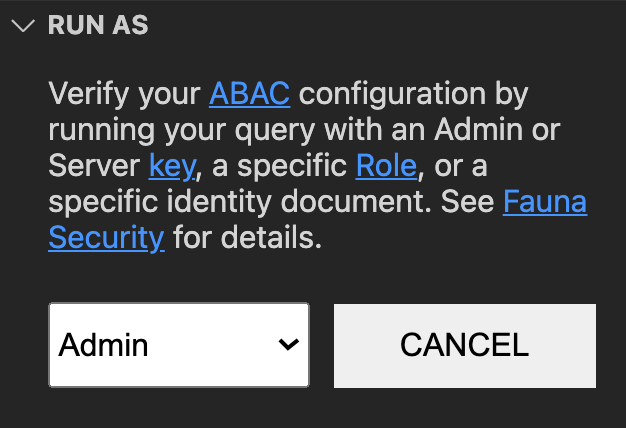
You can test your Attribute-based access control (ABAC) configuration with the "Run as" feature.
The Fauna key associated with your VS Code extension
must have the admin role in order to use the "Run as" feature.
|
The "Run as" panel appears in the lower left section of the VS Code window.

-
Select a role from the dropdown menu.
-
Run a query.
Conclusion
This section has described how to install the Fauna extension for VS Code, how to acquire an admin key, and how to configure the Fauna extension for VS Code with the key. The section has also described how to browse the associated database, how to create a query file, and how to execute a query.
Is this article helpful?
Tell Fauna how the article can be improved:
Visit Fauna's forums
or email docs@fauna.com
Thank you for your feedback!